Watch, learn, and ask about every step of the build process
Are you interested in learning how to build a tiny house without the expense and time commitment of an off-site workshop? Our Online Workshop allows you to learn at your own pace for as long as you need, all without the costs of traveling.
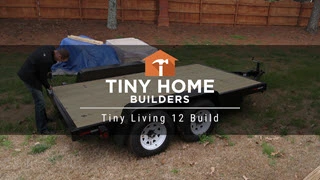
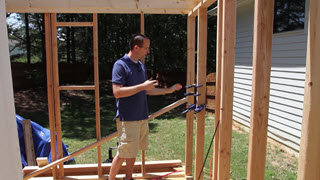
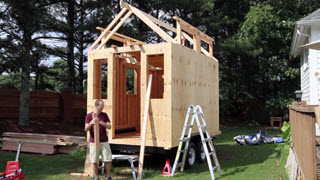
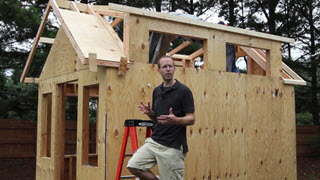
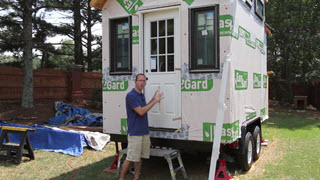
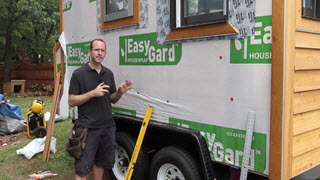
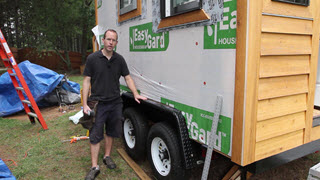
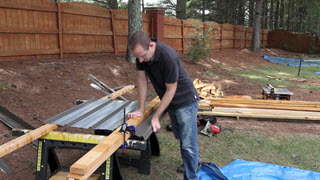
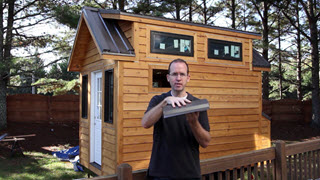
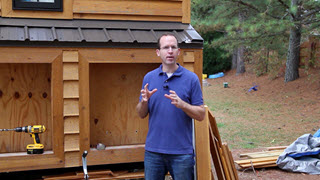
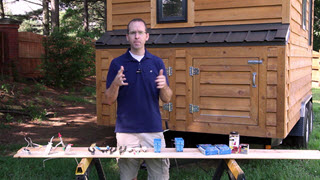
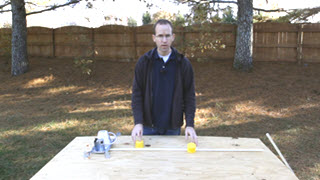
Follow along with Dan Louche as he builds and teaches you how to build a tiny house from beginning to end. Watch as he explains and demonstrates each step along the way.
The lessons are ordered and broken up into small, easy to learn segments. It’s like attending a workshop in your own house, that you
can then attend again and again, as many times as you want. A question and answer forum is also provided with each lesson, allowing
you to ask questions and interact with other users on each specific topic.
This video is a compilation of much of the building footage from our video series. The series also includes instructional video relevant to each section of build video.
In this video you will learn how to build your tiny house shopping list for materials and supplies. You will learn the difference between contractor and DIY plans, how you can save time and money with your building materials checklist, and where you should and should not buy tools that will help you stay efficient and save money. You will also learn the best tiny house trailer types including the features, benefits, and disadvantages of each one.
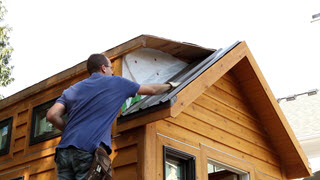
One of the most complex parts of building a tiny house is understanding and purchasing the various components of a metal roof. You will learn what those components are and how to determine how much of each you will need for your home. Correct estimation will keep reordering costs to a minimum.
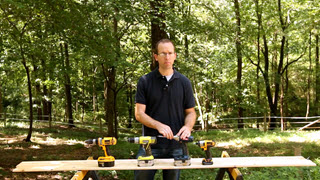
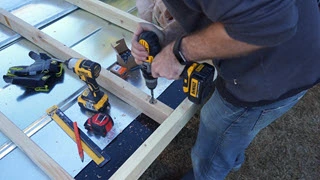
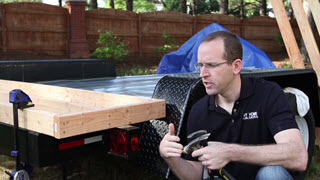
Two important tools in tiny house construction are your impact driver and your drill. In this segment, you will learn the differences between the two, and when to use each tool.
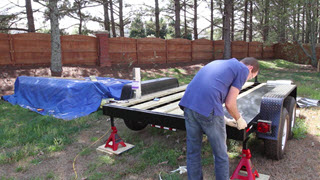
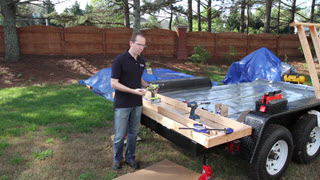
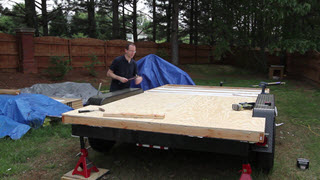
In this video I demonstrate how we install a subfloor on top of a tiny house trailer when we are using an insulation other than closed cell spray foam. If closed cell spray foam is to be used, the metal flashing can be eliminated so that the foam can be installed later. After the foam is installed, a product called Plasticore is installed under the trailer to protect the insulation.
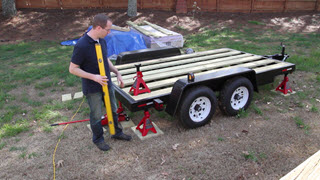
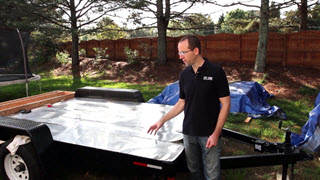
Starting with a level base for building your tiny home is very important. You will learn the best method for leveling your trailer, and how to keep it level once you get it there.
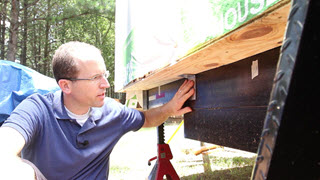
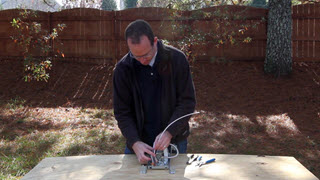
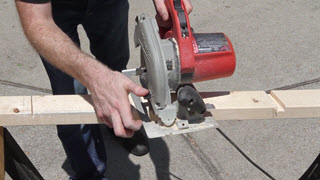
Flashing is necessary between the trailer and the sub-floor to prevent critters and insects from getting up into your floor insulation. In this segment you will learn how to safely cut metal flashing and attach it to the trailer deck.
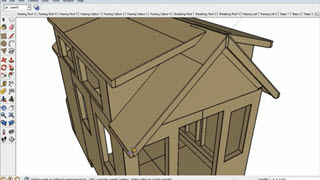
Framing is the structural support of your sub-floor, walls and ceiling. Sub-floor framing is essentially the same as wall framing so the lessons learned in this segment will carry over to your walls.
When it comes to framing mistakes, fixing them can be easily accomplished without destroying your wall or sub-floor. In this segment you will learn the tools and methods needed to fix those little mistakes.
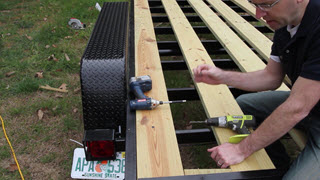
In this example, you will learn how to attach the subfloor to the wood boards underneath the trailer. This process is imperative to prevent the house from ripping off the trailer during transport.
In this segment you will learn how to protect the exposed insulation at the side overlaps and attach hex head bolts and "L" brackets to the frame to lock the sub-floor in.
Because your house is elevated off of the ground, insulation is needed in the sub-floor to keep the home as energy efficient as possible. You will learn about how foam insulation can be quickly and easy applied, as well as how to cap the sub-floor with tongue and groove plywood sheathing.
Many people are concerned about the perceived difficulty of drilling through the metal frame of a trailer. But in this episode of 'Ask Dan' you learn that it is not difficult at all.
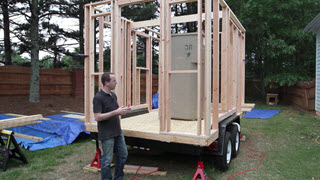
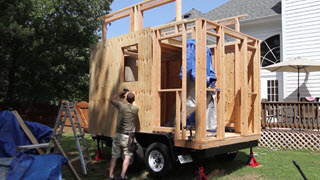
Framing the walls is very similar to the sub-floor framing, but here you will learn how to create headers to help frame around doors and windows. You will also learn how to stand up walls by yourself and what you need to do to keep them braced.
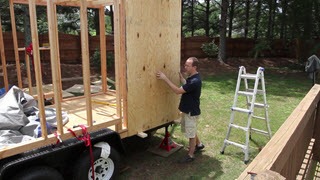
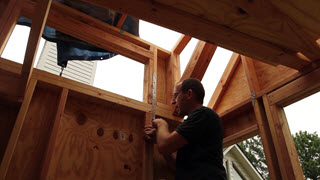
In this segment, you will learn how to measure your home for optimal wall sheathing board placement, proper mounting techniques and tips for cutting around the wheel wells.
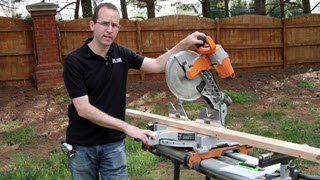
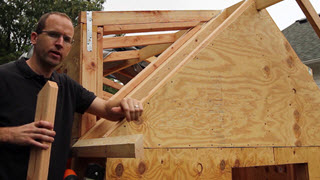
When sheathing walls, you will have to cut various angles other than 90 degrees. In this segment you will learn just how easy it is to measure and cut triangles.
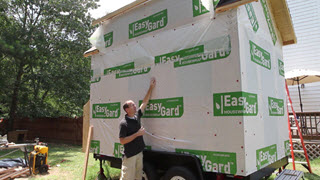
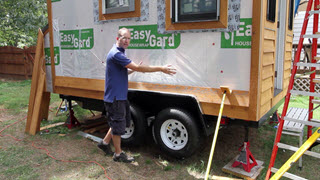
In this segment you will begin the first part of the drying-in process. Learn how to properly install both house wrap and roof tar paper to help prevent water from entering your house.
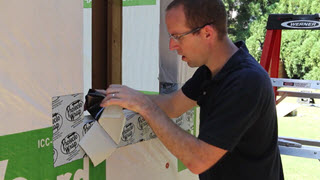
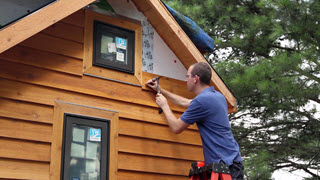
In this segment you will learn the process for finishing and installing siding. Dan covers cutting the trim, and installing it along with the flashing around the windows.
In this segment you will learn to scribe around the fender, cutting beveled joints between boards, varying colored boards and even how to build a tool to assist you if you are working alone.
Cutting and installing fascia boards can be a bit tricky. In this segment you will learn how to make compound miter cuts, work around roof work and how to deal with the gable ends.
In this segment you will learn how to measure roof panel width, how to install gable trim and sidewall flashing and how to attach inside and outside closers.
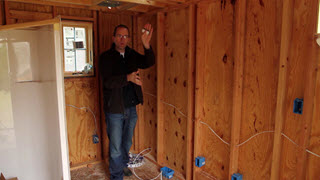
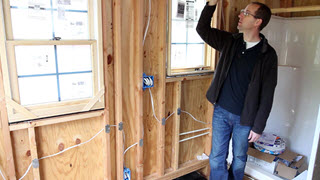
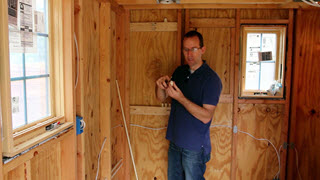
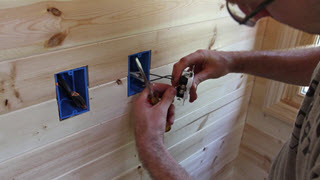
In this segment you will learn to rough-in the electrical. This process includes installing the recessed lighting, the bathroom exhaust fan, all the outlet and switch boxes.
In this segment, the electrical rough-in continues with instruction on connecting the two different types of lighting in the house and installing the nail plates.
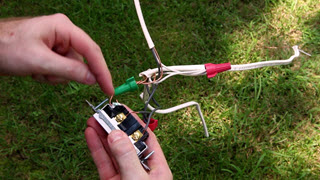
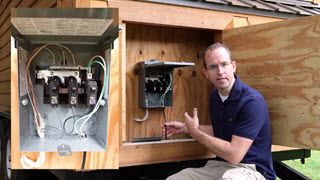
In this segment you will learn how the flow of the electrical goes from the breakers all the way through the home to all of the switches, outlets and lights. You will also learn how the flow of power works for a three-way switch.
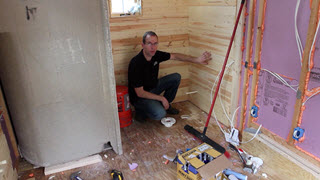
In this segment you will learn the plumbing rough-in, Dan shows how to install the initial phase of the plumbing. This includes planning for your hot water heater, bath and kitchen fixtures and all supply piping throughout the home.
Before you can install the interior siding, there is a couple of steps that need to be taken first. In this segment, you will learn how to install the shower, framing around the fenders, and hooking up the bathroom exhaust.
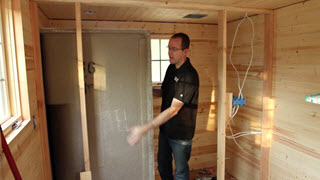
In this segment you will learn how to install an interior wall including any plumbing and electrical that is needed as well as making angled cuts on the siding.
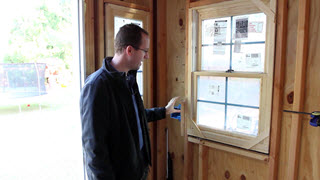
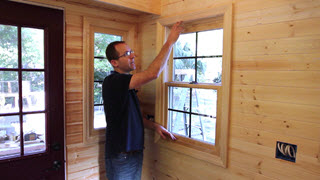
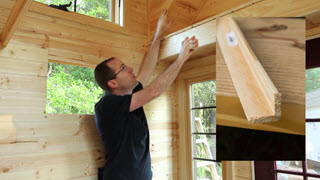
In this segment you will learn the tips and tricks of interior trim including how to picture frame your windows and compensating for the manufacturer's standard gap as well as installing cove molding and one-by material.
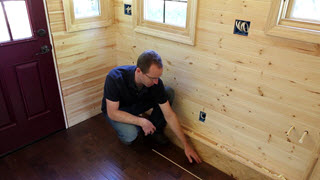
There are various types of flooring that you can have installed in your house. In this segment you will learn how to install vinyl tile, engineered hardwood floors as well as the thresholds between them.
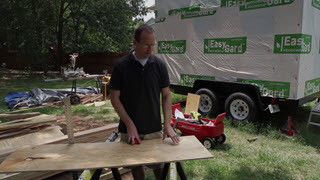
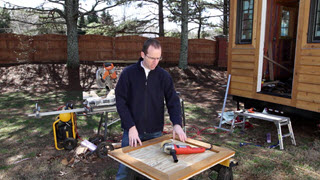
In this segment you will learn the steps needed to build a ladder, including how to measure, cut and assemble. Dan also gives advice on preventing racking.
In this video you’ll learn the principles behind 3-way switches, and why they require an additional wire as compared to when you’re wiring up a normal switch.
Toilets are one of the most asked about fixtures in the tiny house world. Here you will learn what your options are and the pros and cons of each.
What Others Are Saying
“extremely well done and professional. Dan is very clear in his explanations, the audio and video quality is very high... Dan’s videos are like having your own
private workshop with the added benefit that you can watch each step over and over again until you understand the concept and then go put it into practice.
Kent Griswold, tinyhouseblog.com
“
I've remodeled several houses and been researching tiny houses for the past 2 years and really thought I knew it all. Then I took a workshop online with Dan and he blew my mind.
Amazon Customer
“
I've purchased just about every tiny house related resource out there to prepare for building my own house, including books and workshops, and I must say that your course is the best I've found.
John C. - Denver, CO
“very well done. His explanations are clear, the video is crisp and clean, and the sound quality is high.
Michael Janzen - tinyhousedesign.com
“
Although we decided to build on concrete and slightly larger than tiny, your video series was instrumental in building the skills needed
Kai P. - Boston Ma
“
I started watching them last night.........OMG!!! They are exactly what I needed!
Kim N.